bigdog3300
The G.O.A.T.
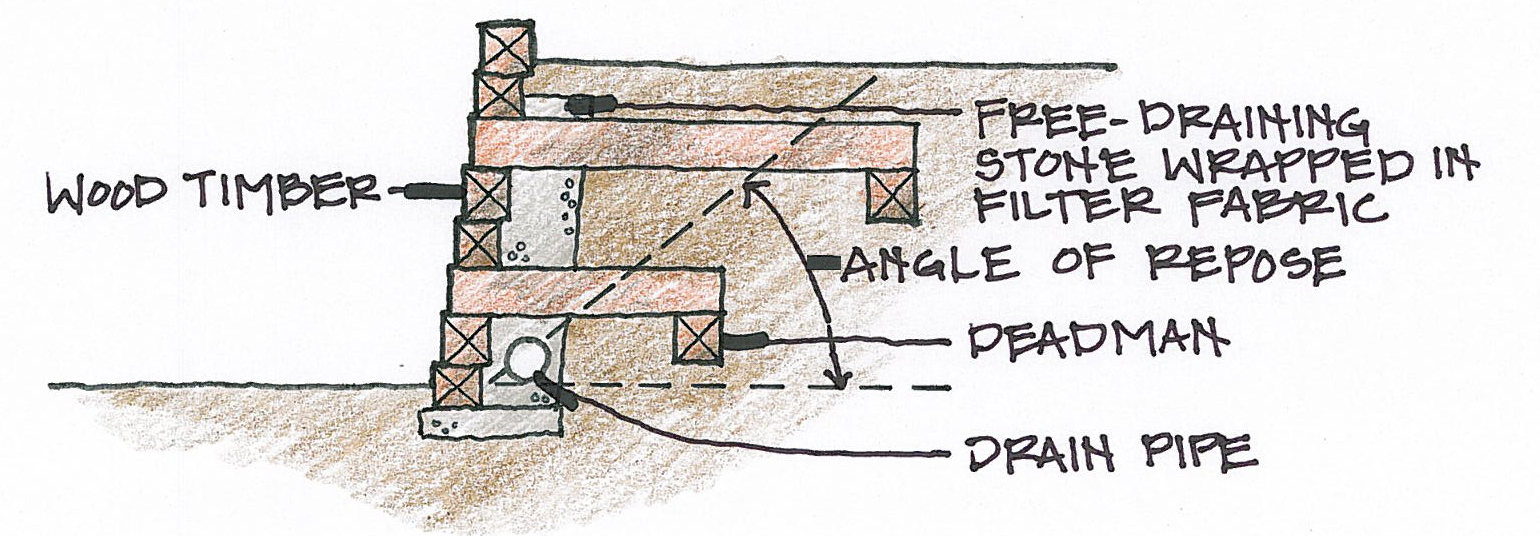
Well, I am using it as a gap filler to attach a retaining wall I built out of treated 4x4's. I just want to give the retaining wall some additional support. View attachment 13394 View attachment 13395
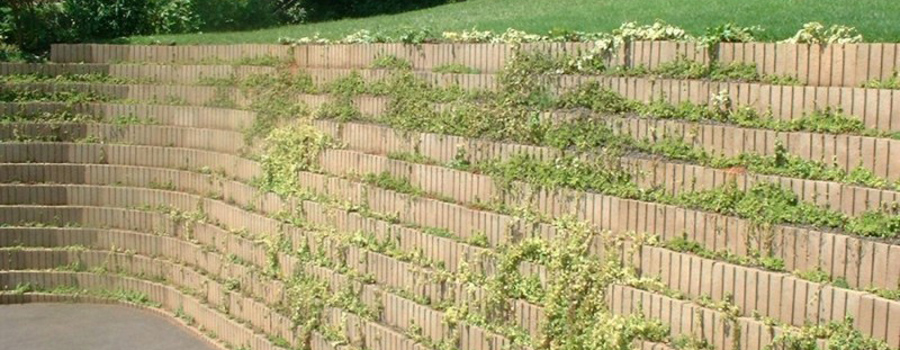
How deep did you take that retaining wall? Just asking as if in Ohio I see a lot of people not take it past the frost line which is pretty deep and those suckers go down pretty quick!
*Also - in a perfect world you'll find someone with a hammer drill, get expansion fasteners and never have to worry about it again.
Upvote
0